A Centerpiece For A Friend.
Hello again! In my most recent post, I promised to write a supplement explaining the basic mechanics of crafting a dried flower arrangement, so today we are going to discuss what supplies you need and what you need to do.
It is a very blustery, wet day up here. I love wet weather but wind stresses me out, and especially when I have a punch list of fall garden chores that need to be attended to. However, our sweet, senior dog, Dallas is at the salon for about 3 hours, and so I'm hanging out in a favorite coffee house near the groomer, drinking a chai latte, and penning this post. I am working on reducing my coffee consumption, which is really hard for me. That's the reason I'm drinking chai. Although I'm not sure sugary, rather artificial coffee house chai is a healthy step up, at least this option saved me from a coffee backslide.
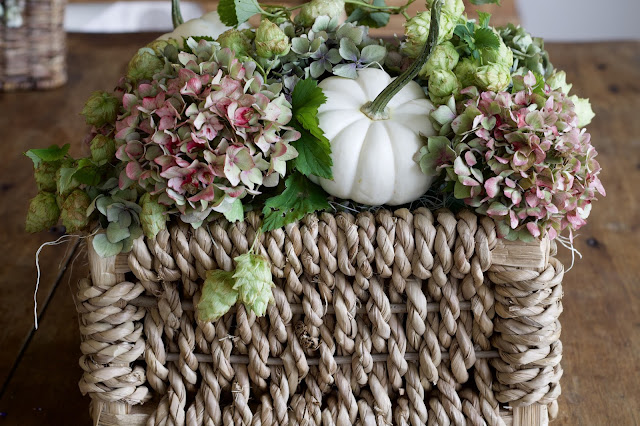
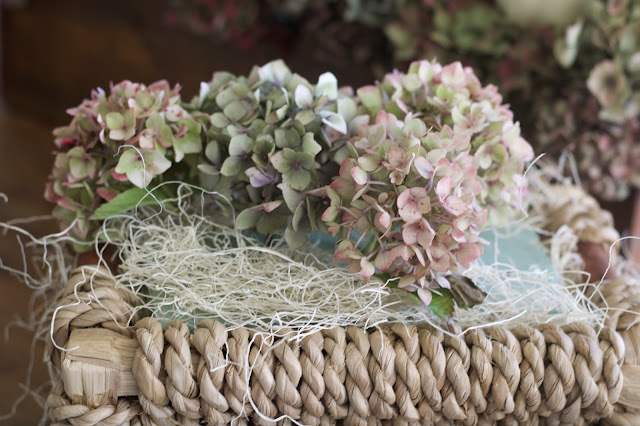
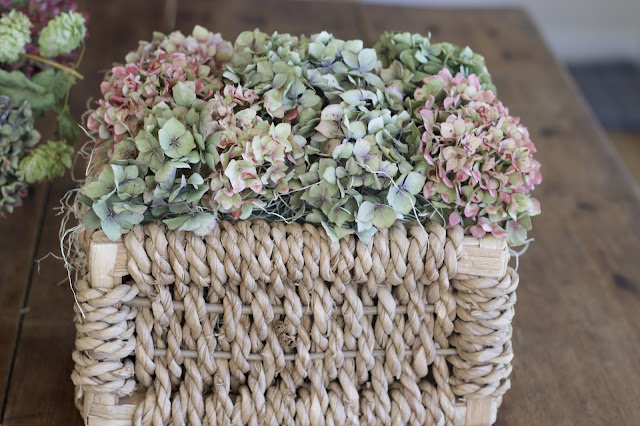
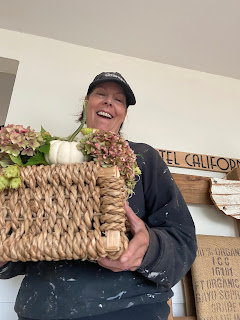
OK, so back to centerpiece chat. I crafted a small version of the original~ the wooden box beauty~ as a gift for a friend who was particularly admiring of my wooden box centerpiece. And I had so many hydrangeas, there were more than enough for a junior version!
This time I used a rectangular basket. I am partial to rectangles because of the size and shape of our dining room table. Also, I find that rectangles are much easier to fill than round bowls because the design of a square or rectangular arrangement can be much more free-form.
I will digress for a minute and tell you a little story. Years and years ago my folks had a collection of cookbooks by a famous author, Lee Baily. He wrote cookbooks with the most enticing titles, such as Country Weekends and Cooking for Friends. He is touted as, "the original food-and-lifestyle guru" by Saveur. And I have to agree.
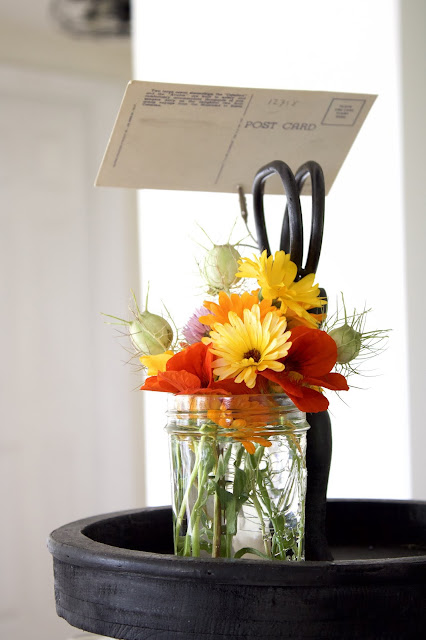
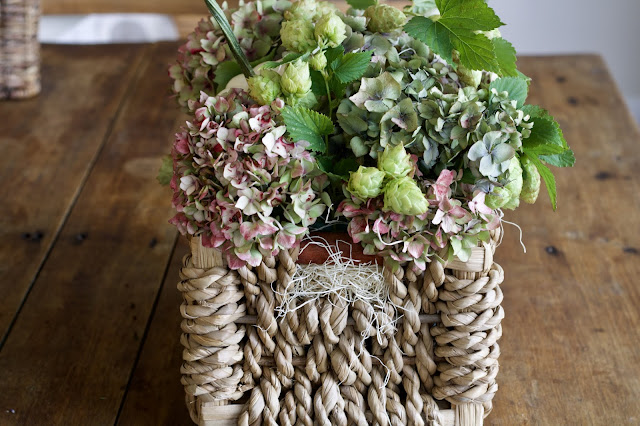
I loved browsing my folk's books. One in the collection was Lee Baily's Country Flowers. His cottage style and strong affinity for flowers really resonated with me, and something he wrote decades ago really stuck. Basically he said, wander around, collect a happy bunch of flowers and stick it in a jar of water. Oh my goodness, that is so me. I can do that. So there you have it~ flower arranging for the non-floral designer. I just don't have the patience for perfect form, that is to say, layers and all of that other designer lingo.
Here is an example of my floral design style~
Back to the business at hand.
How Do I Craft The Centerpiece?
To assemble your centerpiece you will need the following~
- A rectangular vessel such as a box or basket
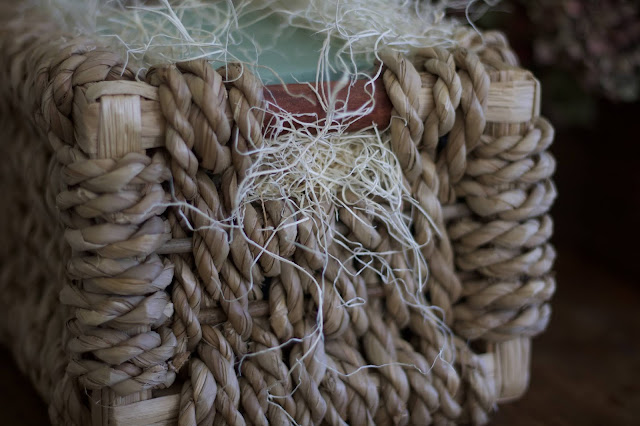
- Dry floral foam
- A collection of dried blossoms with at least 6-8 inches of stem
- A filler such as excelsior.
- Optional mini pumpkins and tiny dowels.

I love your collection of ‘happy flowers’! 🌼🌺🌸🌻🌹🌷
ReplyDelete
ReplyDeleteAfter a long time, I read a very beautiful and very important article that I enjoyed reading. I have found that this article has many important points, I sincerely thank the admin of this website for sharing it. Best Event design naples service provider
Thank a lot for this post that was very interesting. Keep posting like those amazing posts, this is really awesome :)
ReplyDeletewholesale dried flowers shop
You have given great content here.Send flowers Philippines I am glad to discover this post as I found lots of valuable data in your article. Thanks for sharing an article like this.
ReplyDeleteThank you for sharing such a wonderful post. I love it so much.Informative post. Very helpful. Thank you. Check this out - wholesale dried flowers shop
ReplyDelete